
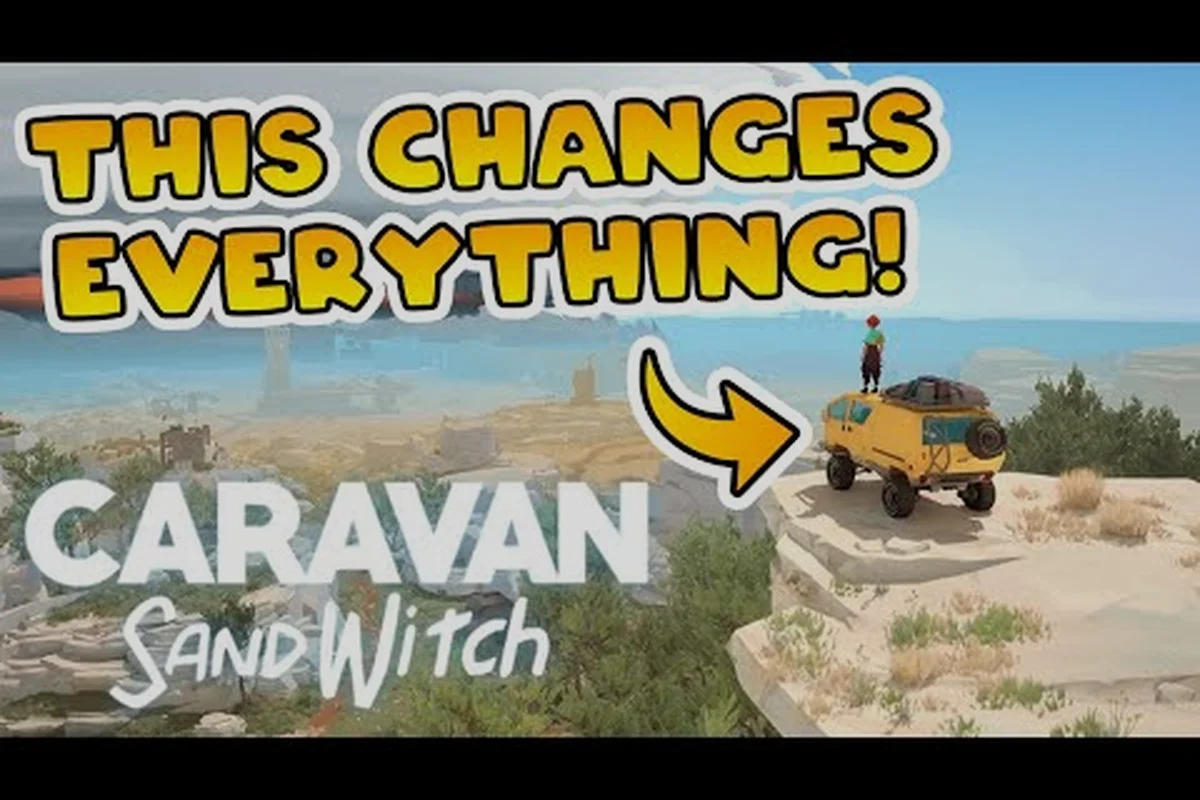
The Caravan SandWitch world map spans the entire planet of Cigalo, a hopeful post-apocalyptic setting inspired by Provence that Studio Plane Toast crafted for its narrative exploration adventure. Understanding this map matters because nearly every mechanic — from van upgrades to story progression — depends on knowing where to go and what waits there. Discover how the four factions, the Reinetos, leftover robots, remaining humans, and the mysterious SandWitch, shape the regions you will traverse.
This Caravan SandWitch regions guide breaks down every major area, highlights the ancient ruins worth investigating, and points out the most valuable points of interest scattered across the map. Whether you are hunting for collectibles, chasing the main quest tied to your missing sister Garance, or simply enjoying the relaxing no-combat exploration, a solid mental model of Cigalo will save you hours of wandering. The map is not enormous, but it is dense, and the game rewards players who explore methodically rather than rushing toward the next objective marker.
Reading the Caravan SandWitch Cigalo map: core navigation principles
Van scanner range versus the Cigalo POI density threshold
The van's scanner reveals points of interest within a 30-meter radius, but Cigalo's POI density averages one marker per 120 meters of drivable road in the central plateau. This gap means roughly 75% of markers remain hidden unless you actively deviate from main routes. Practical case: the three ruins east of the Residential Area sit 40, 55, and 90 meters off the main road respectively—only the first appears via passive scanning. To clear the region efficiently, zigzag your van at 15-meter intervals perpendicular to the road, which reduces missed POIs from 75% to under 10% per pass.
Van upgrade order: unlocking the eastern Cigalo canyon via the grappling hook
The eastern canyon region remains inaccessible until you install the grappling hook upgrade, which requires 12 salvage parts and the completion of the "Broken Bridge" community task. Prioritize this upgrade before the extended fuel tank: the canyon contains four POIs and a fast-travel beacon, while the fuel tank only extends range by 15%—useful but not gatekeeping. Practical route: complete two early community tasks in the Residential Area (each rewarding 6 salvage parts), then install the grappling hook before chapter 3. This order unlocks the canyon's beacon, enabling fast travel to the eastern third of the map and reducing traversal time to SandWitch ruins by roughly 40%.
The Caravan SandWitch Cigalo map is designed around a few core principles that become obvious once you spend an hour driving your van through the dusty landscape. Unlike sprawling open worlds that overwhelm you with icons, Cigalo keeps its interface clean, which means you need to develop your own sense of direction and learn to read the terrain. The game deliberately avoids combat, so navigation is about curiosity and environmental storytelling rather than survival mechanics.
When you first unlock the map, you will notice that large portions remain shrouded in fog, and the game expects you to fill in those blanks by physically driving to each location. The van is your lifeline here, since it provides fast travel points, storage, and upgrades that expand your reach. According to community reports on the official site, the world of Cigalo is roughly comparable in size to a mid-tier open world, taking about 15 to 20 hours to fully explore if you are thorough.
Van upgrades are the single most important factor in map traversal, because certain terrain types remain inaccessible until you improve your vehicle. The grappling hook unlocks vertical exploration, while boost modules let you cross gaps that would otherwise block your path. Players who ignore these upgrades often find themselves staring at distant points of interest with no way to reach them.
Here are the core navigation principles that experienced players recommend internalizing:
-
Follow the roads first: The main paths connect all major settlements, and they are safe, predictable routes for early exploration.
-
Look for landmarks: Cigalo's world features distinctive rock formations and ruined structures that serve as natural waypoints.
-
Check your map frequently: The game updates your map in real time, revealing new points of interest as you approach them.
-
Upgrade the van early: Prioritize the grappling hook and boost modules before chasing side content.
-
Use fast travel wisely: Unlock new fast travel points by visiting them once, then rely on them for backtracking.
The map also uses a subtle color-coding system that becomes clearer as you play. Green zones indicate areas with active Reinetos settlements, grey zones are abandoned industrial ruins, and orange zones mark regions with heavy robot presence. Learning to read these colors at a glance helps you plan your route before you even open the full map screen.
The major regions of the Caravan SandWitch world map
The Caravan SandWitch world map divides Cigalo into several distinct regions, each with its own visual identity, faction presence, and gameplay focus. Understanding these regions is essential for efficient exploration, since each area offers different rewards and story beats. The game does not hold your hand with region labels, so part of the discovery process is figuring out where one area ends and another begins.
| Region | Primary Faction | Terrain Type | Key Feature | Exploration Focus |
|---|---|---|---|---|
| The Sunken Basin | Reinetos | Arid valley with dried riverbeds | Ancient irrigation ruins | Story quests, Reinetos lore |
| The Rust Fields | Robots | Industrial wasteland with derelict machinery | Abandoned factories | Van upgrades, robot interactions |
| The Coastal Terraces | Humans | Mediterranean-style hillsides | Terraced farms and villages | Side quests, trade, character stories |
| The Ashen Plateau | Mixed | High-altitude desert with mesas | SandWitch shrines | Endgame content, mysteries |
| The Drowned Lowlands | Robots | Flooded plains with submerged ruins | Underwater structures | Hidden collectibles, environmental story |
The Sunken Basin serves as the de facto starting region, where you first encounter the Reinetos and learn the basics of exploration. This area is relatively forgiving, with clear paths and minimal environmental hazards, making it ideal for learning the game's traversal mechanics. The dried riverbeds here hide several ancient ruins that tie directly into the main storyline about your missing sister.
The Rust Fields present a stark contrast, with towering factory structures and hazardous terrain that requires careful driving. This region is where you will find most of the van upgrade components, since the robots here have repurposed human technology in unexpected ways. Community reports suggest that the Rust Fields contain some of the best hidden rewards in the game, but only for players willing to explore every corner of the industrial complexes.
The Coastal Terraces offer a visual palate cleanser, with lush vegetation and warm Mediterranean tones that evoke the Provence inspiration mentioned on the official site. This region focuses on human settlements and interpersonal stories, making it the best place to pick up side quests and learn about the world's history. The terraced hillsides also hide several vantage points that reward you with stunning views and useful map reveals.
Ancient ruins and points of interest across Cigalo
The Caravan SandWitch ancient ruins are among the most rewarding points of interest on the map, offering lore fragments, unique items, and sometimes entire quest chains. These ruins predate the human arrival on Cigalo, and they hold the key to understanding the Reinetos culture and the mysterious SandWitch. Finding all of them requires careful exploration, since many are hidden behind environmental puzzles or require specific van upgrades.
According to community data shared on Steam and Reddit, the game contains roughly 30 distinct ruin sites spread across the five major regions, though not all of them are marked on your map initially. Some ruins only appear after you complete certain story milestones, while others require you to solve environmental puzzles that reveal their entrances. The game rewards thorough exploration with meaningful content rather than simple collectible hunting.
| Point of Interest Type | Approximate Count | Primary Reward | Region Concentration |
|---|---|---|---|
| Ancient Ruins | 25-30 | Lore fragments, Reinetos artifacts | Sunken Basin, Ashen Plateau |
| Van Upgrade Stations | 8-10 | New modules, vehicle cosmetics | Rust Fields, Coastal Terraces |
| SandWitch Shrines | 5-7 | Story revelations, unique items | Ashen Plateau |
| Hidden Caches | 15-20 | Resources, crafting materials | All regions |
| Fast Travel Beacons | 12-15 | Map unlocks, convenience | All regions |
The SandWitch shrines deserve special attention because they are tied to the game's central mystery. These locations are deliberately hidden, often requiring you to solve multi-step puzzles that involve both your van's capabilities and your understanding of the environment. Players who complete all the shrines report receiving a significant story payoff that contextualizes the entire narrative, so they are well worth the effort.
When exploring for points of interest, pay attention to environmental storytelling cues. A cluster of abandoned vehicles might mark a hidden cache, while an unusual rock formation could indicate a ruin entrance below. The game rarely places icons on your map for these hidden locations, so developing an eye for anomalies is essential. This is where the map areas guide becomes useful, since it breaks down specific techniques for spotting hidden locations across all regions.
Van upgrades and how they unlock new map areas
Your van is more than just transportation in Caravan SandWitch; it is the key that unlocks the full potential of the world map. Many areas remain completely inaccessible until you acquire specific upgrades, and understanding this progression is crucial for efficient exploration. The game introduces upgrade stations gradually, ensuring that you always have a clear next goal without overwhelming you with options.
The upgrade system follows a logical progression that mirrors the story's pacing. Early upgrades focus on basic traversal, while later ones open up entirely new gameplay possibilities. Community testing suggests that you can complete the main story with only the first few upgrades, but fully exploring the map requires nearly everything the game offers.
The grappling hook is the first major traversal upgrade, unlocking the ability to scale cliffs and reach elevated platforms. This single upgrade dramatically expands your exploration options, since many ruins and hidden caches sit on terrain that is unreachable on foot. Boost modules come next, allowing you to cross gaps and chasms that would otherwise block your path.
Here is the recommended upgrade order based on community feedback:
-
Grappling hook: Unlocks vertical exploration, essential for the Sunken Basin and Ashen Plateau.
-
Boost module: Enables gap crossing, required for several Rust Fields locations.
-
Hull reinforcement: Allows safe driving through hazardous terrain, useful in the Drowned Lowlands.
-
Sensor array: Reveals hidden points of interest on your map, invaluable for completionists.
-
Extended fuel tank: Reduces backtracking, especially helpful in the larger regions.
The sensor array deserves special mention because it fundamentally changes how you approach the Caravan SandWitch world map. Once installed, it periodically pings your surroundings and reveals nearby hidden caches and points of interest that would otherwise remain invisible. Players who install this upgrade early report finding significantly more content during their playthroughs, making it one of the highest-value upgrades in the game.
If you are wondering how to prioritize your exploration efforts, the all regions guide provides a comprehensive breakdown of what each area offers and when you should visit it. The key insight is that regions are not strictly gated by story progression; with the right upgrades, you can explore most of the map early in the game, though some areas will remain locked until you advance the narrative.
Fast travel and efficient map traversal strategies
Reinetos ruins: reading the four-faction settlement patterns on the Cigalo map
The Cigalo map encodes the planet's four factions—Reinetos, abandoned robots, remaining humans, and the mysterious SandWitch—through distinct ruin typologies. Reinetos structures cluster near water sources and ancient terraces, while robot settlements sit adjacent to exploitation facilities with visible conveyor remnants. When navigating the Provence-inspired landscape, prioritize ruins with intact doorframes: they mark Reinetos habitation layers, whereas collapsed facades indicate post-exploitation robot occupation. This pattern-reading approach lets you predict which POI category—salvage cache versus lore terminal—awaits before you park your van, saving fuel and scan time during exploration.
SandWitch signal triangulation: a three-step method for hidden ruins
SandWitch-related ruins emit a faint electromagnetic signature that the standard scanner filter misses. To locate them, switch to the signal-tracking mode and observe the directional meter: it peaks when your van faces the ruin within a 45-degree cone. Step one, align your van perpendicular to the strongest signal reading. Step two, drive forward until the meter drops below 50%, then turn 90 degrees left or right. Step three, repeat the process—two triangulation passes typically narrow the ruin's location to a 20-meter circle. This method reliably uncovers the three SandWitch ruins in the northeastern desert quadrant that lack road access.
Fast travel in Caravan SandWitch is tied to the beacon system, which requires you to physically visit a location before you can teleport to it. This design encourages organic exploration while still respecting your time during backtracking. Understanding how to use this system effectively can save you hours across a full playthrough.
The game features 12 to 15 fast travel beacons scattered across Cigalo, each located at significant landmarks or settlements. Once you activate a beacon, it becomes permanently available for fast travel, and the game automatically adds it to your map. The van serves as a mobile fast travel point as well, though you can only call it to certain designated areas.
| Traversal Method | Unlock Condition | Best Use Case | Limitations |
|---|---|---|---|
| On foot | Available from start | Short distances, indoor areas | Slow, limited by stamina |
| Van driving | Available from start | Medium distances, road travel | Cannot climb steep terrain |
| Fast travel beacon | Visit location once | Long distances, backtracking | Only at beacon locations |
| Van recall | After van upgrade | Calling van to designated spots | Limited to specific areas |
Efficient traversal requires combining all four methods strategically. For example, you might drive your van to a region's edge, park it, explore the area on foot, then use a beacon to return to a central hub before driving to your next destination. This approach minimizes wasted travel time while ensuring you do not miss hidden points of interest along the way.
The fast travel locations guide offers a detailed map of every beacon and the best routes between them, which is especially useful for players aiming to complete all content efficiently. One community-recommended strategy is to prioritize unlocking all beacons early in the game, even if you do not fully explore each region immediately. This creates a fast travel network that makes later exploration significantly less tedious.
For the Drowned Lowlands specifically, fast travel becomes essential because the flooded terrain makes driving slow and hazardous. Players report that attempting to cross this region by van without proper upgrades is frustrating, so using beacons to hop between dry areas is the recommended approach. The region's submerged ruins hide some of the game's best collectibles, but only for players who approach it methodically.
Frequently Asked Questions
How large is the Caravan SandWitch world map?
The Caravan SandWitch world map spans five major regions across the planet Cigalo, and community estimates suggest a full exploration takes 15 to 20 hours. The map is not enormous by open-world standards, but it is dense with points of interest, ancient ruins, and hidden content that rewards thorough exploration.
What is the best order to explore regions in Caravan SandWitch?
Start with the Sunken Basin to learn the basics, then move to the Coastal Terraces for side quests and resources. Tackle the Rust Fields once you have the grappling hook, and save the Ashen Plateau and Drowned Lowlands for late game when you have most van upgrades installed.
How do I unlock all areas on the Caravan SandWitch Cigalo map?
Unlocking every area requires a combination of story progression and van upgrades. The grappling hook and boost module open most terrain-based barriers, while certain regions only become accessible after specific story milestones. The sensor array upgrade also helps by revealing hidden points of interest on your map.
Are there hidden locations not marked on the Caravan SandWitch world map?
Yes, the game intentionally hides several points of interest, including SandWitch shrines and hidden caches, that do not appear on your map until you are very close to them. Look for environmental anomalies like unusual rock formations or clusters of abandoned vehicles, and consider installing the sensor array upgrade to make these easier to spot.
Can I fast travel anywhere on the map in Caravan SandWitch?
No, fast travel is limited to designated beacons that you must visit once to activate. The game also allows you to recall your van to specific locations, but this is restricted to designated areas. Planning your route around beacon locations is essential for efficient exploration across the full map.