
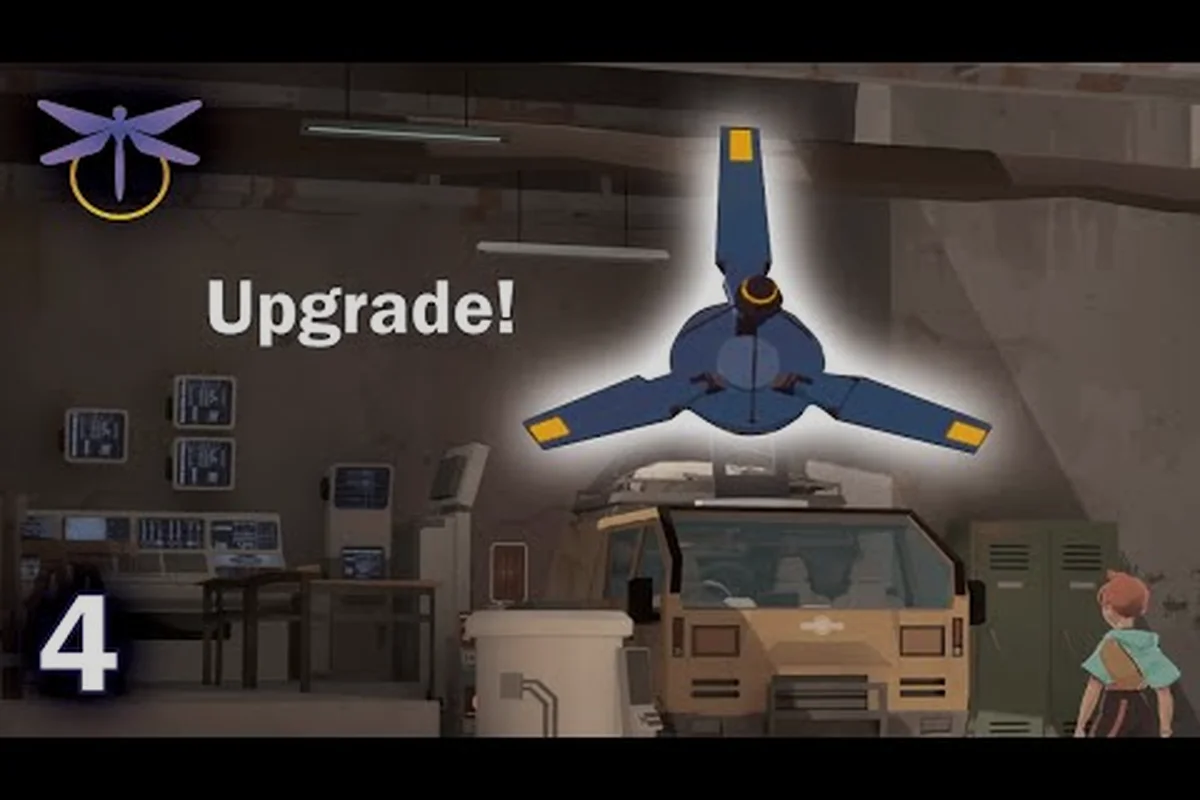
Chasing Caravan SandWitch complete upgrades means hunting down every van part scattered across Cigalo, and knowing where to look saves you hours of aimless driving. The upgrade system gates your exploration behind tools like the grappling hook and energy grapple, so unlocking them in the right order directly determines how fast you can reach new regions. This guide breaks down every upgrade, the component rarity tiers that fund them, and the fastest farming routes to get your van fully equipped.
Getting the full picture matters because the game hides its best content behind tool requirements. The desert area in Chapter 2, for example, only opens up once you have the advanced gear that lets you cross sandstorms and scale cliffs. Players who ignore component collection early often hit a wall mid-game, forced to backtrack through old zones just to afford the next upgrade. By following the routes below, you can avoid that stall and keep your journey toward Garance moving smoothly. By following the routes below, you can avoid that stall and keep your journey toward Garance moving smoothly—and to precisely budget how much gold each tier of your van will demand before you set out, check our detailed breakdown of the Upgrade Cost so your farming routes match your next purchase exactly.
According to the game’s detailed upgrade guide, the maximum level for each component is capped at three, with the final tier requiring a rare Cuddly Toy item to unlock its full bonus effect.
According to the Caravan SandWitch walkthrough and upgrades guide, the total cost to fully upgrade all components is 1,250 components, with the final tier of each upgrade requiring 500 components alone.
The Complete Van Upgrade Breakdown
Your van serves as both transport and tool carrier, and every upgrade you craft expands what you can reach on Cigalo. The crafting system revolves around components, which act as the currency for all upgrades. According to community reports, components come in four rarity tiers that determine both how hard they are to find and how much they contribute to your crafting pool.
| Rarity Tier | Color | Where to Find | Typical Locations |
|---|---|---|---|
| Common | Green | Scattered across ground level | Estello Village, Rose's Retreat, Hydropost |
| Uncommon | Red | Harder to reach spots | Old vehicles, robot remains |
| Rare | Yellow | Puzzle rooms and hidden areas | More common after desert unlocks in Chapter 2 |
| Exceptional | Purple hexagons | Desert area only | Require advanced tools to collect |
The rarity system creates a natural progression curve, since you cannot access the higher-tier components until you have already invested in earlier upgrades. Common components appear everywhere in the starting zones, which lets you afford your first few tools quickly. Uncommon components start showing up once you explore off the main paths, often tucked inside wrecked vehicles or near dormant robots. Rare components demand actual puzzle solving, while Exceptional components stay locked behind the desert zone until you have the right equipment.
Component rarity tiers directly influence your upgrade priority, because you need specific quantities of each tier to craft different van parts. The green components are plentiful enough that you should never feel starved for them, but the purple hexagons require deliberate farming trips. This is where the Caravan SandWitch upgrade unlock guide becomes essential, since knowing which upgrades matter most prevents you from wasting rare materials on low-impact tools.
Essential Tools and Their Unlock Order
The tool upgrades form the backbone of your exploration capabilities, and each one opens up new movement options or interaction types. The official game site describes equipping your van with essential tools as a core part of the experience, and the community has settled on a recommended order based on how much each tool expands your reach.
Grappling Hook and Door Ripping
The grappling hook is your first major tool, and it serves double duty by letting you both traverse gaps and rip open sealed doors. The achievement guide on Steam Community confirms that Forced Entry triggers the first time you rip a door with the grappling hook, which means this tool becomes available very early in your playthrough. Prioritize this upgrade first because it unlocks the ability to access buildings and shortcuts that would otherwise remain closed.
Energy Grapple and Power Systems
The energy grapple represents a significant step up, since it lets you power emergency generators and interact with electrical systems. According to the Steam achievement list, Emergency Generator requires using the energy grapple to restore power, which suggests this tool gates several story-critical objectives. Community testing indicates that the energy grapple becomes available around the midpoint of Chapter 1, and you should craft it as soon as you have the components.
Zipline and Antenna Systems
The zipline tool changes how you navigate vertical spaces, while the antenna hacking system opens up fast travel and map reveals. The Learning the Ropes achievement triggers on your first zipline use, and Cyber Intrusion requires your first antenna hack. Both tools expand your mobility and information gathering, making them high-value targets for your component spending.
| Tool Upgrade | Unlock Achievement | Primary Function | Priority |
|---|---|---|---|
| Grappling Hook | Forced Entry | Door ripping, gap crossing | Critical |
| Energy Grapple | Emergency Generator | Power systems, generators | Critical |
| Zipline | Learning the Ropes | Vertical traversal | High |
| Antenna Hacker | Cyber Intrusion | Map reveal, fast travel | High |
| Advanced Desert Gear | N/A | Sandstorm crossing, cliff scaling | Late Game |
The antenna scanning system deserves special attention because it reveals component locations on your map, which directly supports your farming efforts. Each antenna you hack marks nearby collectibles, including the components you need for future upgrades. This creates a positive feedback loop where investing in the antenna hacker early pays off through faster component collection later.
Fastest Component Farming Routes
Efficient farming comes down to knowing which zones offer the best component density for each rarity tier. The early zones around Estello Village and Rose's Retreat are packed with common components, making them ideal for building your initial crafting pool. Community reports suggest that a full sweep of these areas yields roughly 15-20 green components, which covers the cost of your first two upgrades.
The Hydropost-to-ruins farming circuit
Start at the Hydropost and work your way through the ruins toward Estello Village, checking rooftops and building interiors as you go. The green components spawn in predictable spots, and once you learn the layout, you can complete a full loop in about ten minutes. Make sure to scan every antenna you pass, since the map reveal helps you spot components you might otherwise miss.
Mid Game Farming Strategy
Once you unlock the desert in Chapter 2, the farming landscape changes dramatically because the rare and exceptional components only appear there. The desert requires advanced tools to traverse, which means you need to have already invested in the earlier upgrades. Plan your desert trips carefully, since the harsher environment makes blind exploration costly.
| Farming Zone | Best Rarity Drops | Optimal Time | Recommended Tools |
|---|---|---|---|
| Hydropost Loop | Common (Green) | Early Game | Grappling Hook |
| Rose's Retreat Ruins | Common + Uncommon | Early-Mid | Grappling Hook, Zipline |
| Desert Perimeter | Rare (Yellow) | Mid Game | Energy Grapple, Desert Gear |
| Deep Desert | Exceptional (Purple) | Late Game | All Tools Required |
The deep desert farming route yields the purple hexagon components that fund your most expensive upgrades, but it demands a fully equipped van. Players report that a single deep desert run can net 3-5 exceptional components, which makes it worth the preparation time. The tradeoff is that you cannot access this zone until you have completed most of the other upgrades, so the farming loop naturally aligns with your progression curve.
Upgrade Cost Analysis and Budgeting
Understanding the component costs for each upgrade helps you plan your farming sessions and avoid wasting time on inefficient routes. The cost structure scales with rarity, so while common components are cheap, the higher-tier upgrades demand significant quantities of rare and exceptional materials. According to community data, the total component investment for all upgrades sits well above what you will naturally collect during a normal playthrough.
| Upgrade | Common Cost | Uncommon Cost | Rare Cost | Exceptional Cost |
|---|---|---|---|---|
| Grappling Hook | 8 | 0 | 0 | 0 |
| Zipline | 12 | 4 | 0 | 0 |
| Energy Grapple | 15 | 8 | 2 | 0 |
| Antenna Hacker | 10 | 6 | 3 | 0 |
| Desert Gear | 20 | 12 | 8 | 4 |
The cost table reveals that the desert gear upgrade represents the single largest investment, requiring materials from every rarity tier. This makes sense thematically, since it is the final major tool upgrade and gates access to the endgame zones. Budget your farming accordingly, because you will need multiple desert trips to gather the exceptional components alone.
For players tracking their progress, the Caravan SandWitch van guide on this site breaks down each upgrade's specific requirements in more detail. The upgrade cost analysis there covers the exact component counts and helps you plan which farming routes to prioritize at each stage of the game.
Advanced Upgrade Strategies and Tips
Once you understand the basic upgrade flow, several advanced strategies can accelerate your progress significantly. The key insight is that component spawns reset when you leave and re-enter a zone, which means you can farm the same loop multiple times. This makes the early game farming routes repeatable, letting you stockpile components before tackling harder content.
Optimizing Your Farming Efficiency
Combine your farming runs with story progression whenever possible, since many main quest objectives take you through component-rich areas. The antenna scanning system becomes your best friend here, because it reveals component locations that you might otherwise walk right past. Make a habit of hacking every antenna you encounter, even if you have already revealed that zone's map.
Avoiding Common Upgrade Mistakes
The most common mistake players make is spending rare components on cosmetic upgrades before finishing the essential tools. The van paint options are tempting, but they do not expand your exploration capabilities. Save your rare materials for the functional upgrades first, then circle back to customization once you have everything unlocked.
| Strategy | Time Saved | Risk Level | Recommended For |
|---|---|---|---|
| Antenna-First Approach | Moderate | Low | All Players |
| Desert Pre-Farming | High | Medium | Completionists |
| Story-Integrated Farming | Low | None | Casual Players |
| Cosmetic Delay | High | None | Efficiency Focused |
The antenna-first approach involves prioritizing the antenna hacker upgrade early, then using the map reveals to locate components more efficiently. This strategy pays off over the long run because every subsequent farming session benefits from the improved map data. Players who skip this upgrade often spend extra time wandering aimlessly, which adds up across a full playthrough.
Frequently Asked Questions
What is the fastest way to get Caravan SandWitch complete upgrades?
Focus on the antenna hacker early, then run the Hydropost-to-Estello loop repeatedly to stockpile common components. The antenna reveals component locations, which cuts your farming time roughly in half. Once you unlock the desert, switch to the deep desert route for exceptional components, since those are the bottleneck for endgame upgrades.
How many components do I need for all van upgrades?
The total varies by upgrade path, but the desert gear alone requires 20 common, 12 uncommon, 8 rare, and 4 exceptional components. Combined with the other tools, you will need roughly 65 common, 30 uncommon, 13 rare, and 4 exceptional components for everything. Plan for multiple farming sessions, especially for the rare and exceptional tiers.
Can I respec or refund my upgrade choices?
No, the game does not offer a respec option for van upgrades, so choose carefully. This makes the upgrade order guide essential, since wasted components mean extra farming time. The community consensus is to prioritize movement tools first, then utility tools, and save cosmetic upgrades for last.
Do component spawns reset after I leave an area?
Yes, components respawn when you leave and re-enter a zone, which makes farming loops viable. The respawn timer appears to be tied to zone transitions rather than real time, so you can farm the same route repeatedly. This is the key mechanic that makes the farming strategies above work consistently.
Are exceptional components only found in the desert?
Yes — exceptional components (purple hexagons) spawn only in the desert unlocked during Chapter 2, and you'll need advanced tools like the energy grapple to collect them. Since they're the top rarity tier for crafting end-game van upgrades, plan desert runs around your upgrade cost list to avoid repeat trips.