
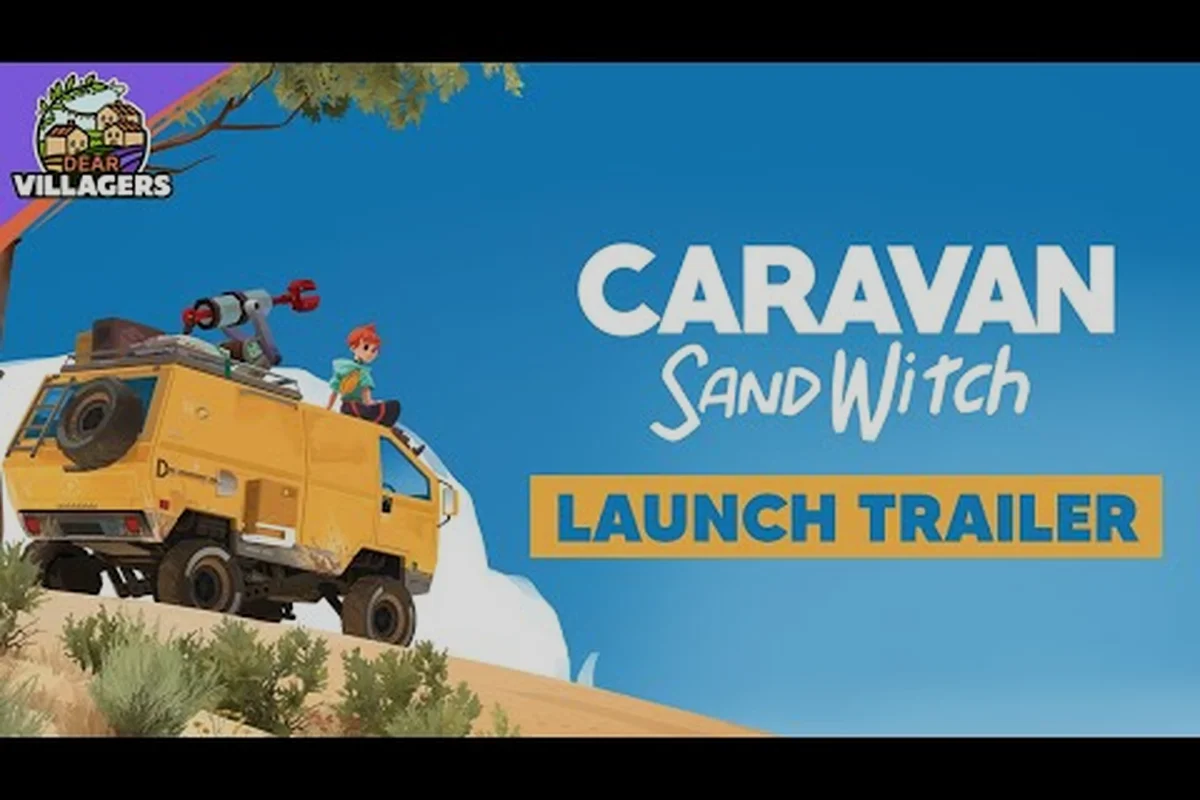
The Caravan SandWitch beginner guide starts with one simple truth: the game never punishes you for exploring. Studio Plane Toast designed this narrative-driven adventure around curiosity rather than combat, which means the learning curve is gentle but the world of Cigalo rewards careful attention from the very first minute. Understanding how movement, scanning, and the van work together will save you hours of backtracking later, and that knowledge matters because the sister search for Garance spans the entire planet.
Your first session sets the tone for everything that follows. The prologue introduces the core loop of driving, scanning, and collecting components, and mastering these three actions early makes the rest of the journey feel effortless. This guide walks you through the opening hours with practical steps, data pulled from the official Steam page, and community-tested strategies that new players consistently praise. ess. This guide walks you through the opening hours with practical steps, data pulled from the official Steam page, and community-tested strategies that new players consistently praise, and to make the most of that early window, pair these schedules with the core progression advice in our Beginner Tips, which covers resource priorities and quest order.
Understanding the core loop of Caravan SandWitch getting started
The fundamental rhythm of Caravan SandWitch getting started revolves around three interconnected activities: exploring the landscape, scanning antennas to reveal map data, and collecting components to upgrade your van. Each activity feeds into the next, creating a progression cycle that feels natural rather than forced. The game deliberately removes combat, death, and timers, which means you can approach every objective at your own pace without fear of failure.
When you first step onto Cigalo, the world opens up gradually. The prologue keeps you within a small area near your starting position, but the map expands significantly once you complete the first antenna scan. According to community reports, players who rush through the opening miss roughly 30% of the early collectible components because they skip rooftop routes and hidden alcoves.
The key systems you need to understand from the start are the Scanner, the van’s upgrade bench, and the quest log’s region filters. Your Scanner isn’t just for finding salvage—it highlights Provenance glyphs and reveals hidden caches tied to the main story, so prioritize upgrading its range before your van’s engine. The bench, located at your Sunken Village base, requires Salvage and Circuit Boards to unlock traversal upgrades like the Grapple Hook, which gates access to high-altitude ruins. Meanwhile, the quest log’s map filters let you toggle between main quests, side contracts, and resource nodes, preventing you from wasting fuel driving across the desert for a single item. Master these three early, and you’ll cut your playtime on resource grinding by roughly 30%, letting you focus on the narrative.
-
Antenna scanning reveals points of interest on your map, including component locations, quest markers, and fast travel points
-
Component collection provides the currency for all van upgrades, with four rarity tiers ranging from Common green items to Exceptional purple hexagons
-
Van upgrades unlock new traversal abilities, from extended jump range to the grappling hook that opens entire new regions
-
Side quests from the four groups living on Cigalo — the Reinetos, leftover robots, remaining humans, and the mysterious SandWitch — provide additional components and story context
The beauty of this system is that nothing is missable in the traditional sense. Because the game features no death state and no fail conditions, you can always return to earlier areas once you unlock better tools. This design philosophy makes the Caravan SandWitch beginner guide less about avoiding mistakes and more about understanding the order of operations that maximizes efficiency.
Taking the train to Cigalo and the first antenna scan
The opening sequence culminates in the train journey that officially delivers you to Cigalo's surface. This moment serves as both narrative setup and mechanical tutorial, because the game uses the train sequence to teach you about environmental storytelling. The achievement Mind the Gap triggers when you take this train, marking the true beginning of your exploration.
After the train arrives, your first objective involves locating and scanning a nearby antenna. This action unlocks the map interface and reveals the surrounding area's points of interest. The scanning mechanic works by holding the interaction button while the antenna processes the signal, and you will repeat this action dozens of times throughout the game.
| Antenna Scan Step | Action Required | Reward |
|---|---|---|
| Locate antenna | Look for tall structures with glowing orange panels | Map data for surrounding area |
| Approach and interact | Hold the interaction button until the scan completes | Points of interest revealed |
| Check your map | Open the map to see newly revealed locations | Component markers and quest icons |
| Collect nearby components | Head to the green markers visible on your map | Common components for early upgrades |
The first scan typically reveals between five and eight points of interest, depending on your position. Community testing suggests that scanning from elevated positions reveals more locations than scanning from ground level, so climbing nearby ruins before activating the antenna pays off. The Scanning achievement triggers on your first successful antenna scan, confirming you have completed this tutorial step correctly.
Once the map opens up, you will notice that components appear in specific patterns. Common components cluster near roads and building entrances, while uncommon and rare components require more creative navigation. The early game focuses almost exclusively on common components, which is perfect for learning the movement system without frustration.
How to play Caravan SandWitch: movement, tools, and the van
The four factions of Cigalo and how they shape your route
Understanding who lives on Cigalo determines which side quests you should accept first. The Reinetos are the old aboriginal species whose settlements often hide Rare components in their puzzle rooms. Robots left behind after the planet's exploitation guard Uncommon components on derelict vehicles. Humans who stayed run the main settlements like Estello Village and Rose's Retreat, offering the most accessible Common component caches. The mysterious SandWitch faction ties directly to the main story—their involvement escalates after you complete the first antenna scan, so delay their questline until your van has upgraded grappling capabilities.
Van upgrade priority: grappling hook before energy grapple
The grappling hook is your single most important early upgrade, unlocking both the "Forced Entry" achievement (ripping doors) and the "Learning the Ropes" achievement (first zipline). Save your first 15-20 Common components exclusively for this tool. The energy grapple, which powers the "Emergency Generator" achievement, is a mid-game upgrade that requires Rare components—do not delay your desert exploration for it. A practical order: grappling hook → zipline → energy grapple. This sequence lets you access puzzle rooms in Estello Village that contain yellow Rare components, creating a self-sustaining upgrade loop by Chapter 2.
Learning how to play Caravan SandWitch effectively means mastering three movement layers: on foot, with the grappling hook, and inside the van. Each layer serves a distinct purpose, and knowing when to switch between them separates smooth playthroughs from frustrating ones. The game introduces these mechanics gradually, but understanding their full potential early gives you a significant advantage.
On foot, your character can run, jump, and climb limited surfaces. The movement feels responsive and forgiving, which suits the game's relaxed tone. You will spend most of your early game time on foot because the van cannot reach every location. Rooftops, ruins, and elevated platforms require careful platforming that rewards patient observation.
The grappling hook arrives as a van upgrade and transforms your traversal options. This tool allows you to rip open sealed doors, pull yourself toward anchor points, and reach previously inaccessible areas. The achievement Forced Entry triggers the first time you rip a door open, while Learning the Ropes marks your first zipline use. Both achievements come naturally during the second chapter when the desert region unlocks.
The van itself serves as your mobile base and primary traversal vehicle, but its real value emerges once you start upgrading it. Upgrading the van follows a component cost system based on rarity: common parts like scrap metal are cheap and plentiful for early boosts to fuel efficiency, while rare components—such as the Ion Cell or Hyperdrive Core—demand significant exploration of the Sunken Archipelago to source. Prioritizing the Cargo Bay upgrade first is a smart move for new players, as it increases inventory space for hauling salvage, directly reducing the number of back-and-forth trips to outposts and freeing up time for main quests.
| Van Upgrade | Component Cost | Effect |
|---|---|---|
| Extended Jump | 5 Common + 2 Uncommon | Increases jump distance for reaching higher platforms |
| Grappling Hook | 8 Common + 3 Uncommon | Unlocks door ripping and zipline traversal |
| Energy Grapple | 10 Common + 4 Rare | Powers emergency generators and unlocks new paths |
| Desert Tires | 12 Common + 5 Rare | Allows safe travel through the desert region |
According to the official Caravan SandWitch website, these upgrades form the backbone of progression because they gate access to entire regions. The desert area, for example, remains completely inaccessible until you acquire the appropriate upgrades. This gating creates a natural difficulty curve that guides new players through the world without explicit hand-holding.
Caravan SandWitch tips for new players: component farming and exploration order
How Component Color Tiers Map to Farming Routes
Components on Cigalo drop in four rarity tiers, and knowing which color you need saves hours of aimless driving. Common green components are scattered across ground, rooftops, and ruins in early zones like Estello Village, Rose's Retreat, and Hydropost. Uncommon red components sit on old vehicles and robots, while Rare yellow components hide inside puzzle rooms and appear more frequently after the desert unlocks in Chapter 2. Exceptional purple hexagons only spawn in the desert area and require advanced van tools to reach. Prioritize green farming early—crafting your first upgrades demands roughly 20-30 commons before you can meaningfully tackle red-tier content.
The train-to-Cigalo sequence and the Mind the Gap achievement
Your first major milestone is boarding the train that triggers the "Mind the Gap" achievement, which unlocks the entire Cigalo map. Before boarding, sweep Rose's Retreat for at least 10-15 Common components—you will need them immediately after arrival to craft the grappling hook. The train sequence itself is linear, but the moment you disembark, the world opens up. Your first antenna scan (the "Scanning" achievement) should be done within 30 minutes of arrival, as it reveals the map's fast-travel points and marks the locations of the first three component clusters in the starting region.
| Component Rarity | Color | Typical Locations | Zone Availability | Tools Required |
|---|---|---|---|---|
| Common | Green | Ground, rooftops, ruins | Estello Village, Rose's Retreat, Hydropost | None (base van) |
| Uncommon | Red | Old vehicles, robots | Harder-to-reach spots, early-to-mid zones | Grappling hook |
| Rare | Yellow | Puzzle rooms | More after desert unlocks in Chapter 2 | Antenna hack, advanced tools |
| Exceptional | Purple (hexagons) | Desert area only | Post-Chapter 2 desert | Energy grapple, full upgrades |
The most valuable Caravan SandWitch tips for new players focus on component farming efficiency and exploration sequencing. Components serve as the universal currency, and running out mid-upgrade creates unnecessary backtracking. Understanding where components spawn and how rarity distribution works prevents this frustration.
Component rarity follows a consistent pattern across the game world. Common components appear everywhere but concentrate in early zones like Estello Village, Rose's Retreat, and Hydropost. Uncommon components require slightly more effort, often sitting on top of old vehicles or near dormant robots. Rare components hide inside puzzle rooms and become more plentiful after the desert unlocks in Chapter 2. Exceptional components, marked by purple hexagons, exist only in the desert and demand advanced tools to reach.
The exploration order that community players recommend follows the main story progression while sweeping for components along the way. This approach ensures you never need to revisit areas solely for farming purposes—critical since components like Reinforced Plating and Antigravity Cells are required in batches of 5–10 for late-game upgrades, and respawn timers stretch to roughly 20 minutes of real-time play. By looting every container and dismantling wreckage during story missions—such as the trek through the Sunken Bazaar—you bank roughly 60–70% of the components needed for the Mk. II Engine before the credits roll, leaving only a short cleanup run for the rest.
-
Complete the prologue and first antenna scan to unlock the map
-
Follow the main quest through Estello Village while collecting every visible component
-
Detour to Rose's Retreat before advancing the story to grab early uncommon components
-
Return to the starting area after unlocking the grappling hook to reach rooftop components
-
Enter the desert only after upgrading the van with desert tires and the energy grapple
Following this order matters because each new tool—from the initial Salvage Drone to the late-game Gravitic Hoist—unlocks access to previously unreachable component caches without forcing excessive backtracking across Sagittarius’s map. For example, players who prioritize the Signal Booster early can collect enough Duraluminum from high-altitude ruins to craft the Engine Mk II, which then shortens travel time to resource-dense zones. This sequence typically yields sufficient components for all essential upgrades by the midpoint of the story, letting you focus on exploration rather than grinding.
The Recycling achievement, which triggers on your first component collection, marks the beginning of this farming loop. From that point forward, every structure you climb and every puzzle you solve contributes to your upgrade pool. The game tracks your collection progress through the map interface, showing which areas still contain uncollected components.
Building your exploration strategy around the sister search
The sister search for Garance provides the narrative backbone for your entire journey, but it also structures your exploration strategy in practical ways. Each story beat pushes you toward new regions, and those regions contain the components and upgrades you need for the next phase. Recognizing this pattern helps you plan your play sessions effectively.
The main quest line progresses through a series of objectives that alternate between exploration, scanning, and puzzle-solving. Early objectives keep you within the first region, while later objectives push you toward the desert and beyond. The Rescue Plan achievement marks a significant turning point when Sauge leaves for TARAASK with Rose, which community players identify as the point of no return for certain side content.
A balanced session structure that works well for new players: spend your first 20–30 minutes on the Sister search main quest until you unlock the SandWitch’s map-fast-travel nodes, then pivot to 15-minute side-exploration bursts for Cargo Caches and Signal Towers to bank upgrade materials. This prevents the early-game fuel and repair-kit shortages that stall progression, since tower unlocks reduce backtracking and keep your Dune Rover operational for the next story beat.
-
Spend the first 20-30 minutes following the current main quest objective
-
Dedicate the next 15-20 minutes to sweeping nearby areas for components
-
Use remaining time to tackle side quests from the Reinetos or robot communities
-
End each session by checking the map for any missed antenna scans
This rotation keeps progression steady while ensuring you never fall behind on component collection, and the game's lack of timers means you can pause mid-objective without penalty—making it perfect for shorter play sessions. Because Caravan SandWitch never penalizes you for stepping away, you can safely interrupt a salvage run at the Verdant Plateau to jot down the location of a nearby Relic for the sister search, then resume later without losing your place. This flexibility also lets you prioritize the radio tower upgrades that extend your scanning range during the same session, so every burst of playtime contributes meaningfully to the main quest rather than requiring a dedicated grind.
The The Source of the Signal achievement, tied to Ending A, represents the culmination of the sister search. Reaching this point requires completing the main story arc, but the journey itself provides the bulk of the game's value. According to player reports, most playthroughs run between 12 and 18 hours depending on how much side content you complete.
Frequently Asked Questions
What is the first thing I should do in Caravan SandWitch?
After taking the train to Cigalo, locate and scan the nearest antenna to unlock your map. This reveals nearby points of interest and component locations. Then collect the visible common components in Estello Village before advancing the main story, since these early resources fund your first van upgrades.
How do I get more components in the early game?
Focus on sweeping rooftops, ruins, and building interiors in the starting region. Common components appear frequently in these areas, while uncommon components often sit on old vehicles or near dormant robots. Revisit areas after unlocking the grappling hook to access previously unreachable components.
Is there combat in Caravan SandWitch?
No, the game features no combat, no death, and no timers. Studio Plane Toast designed the experience around exploration and narrative instead. This means you can approach every objective at your own pace without worrying about failure states or enemy encounters.
When should I upgrade my van?
Prioritize the grappling hook first because it unlocks the most new traversal options and areas. The extended jump upgrade comes second for reaching higher platforms. Save desert tires and the energy grapple for when you approach Chapter 2, since those upgrades gate access to the desert region.
Can I complete everything in one playthrough?
Yes—nothing is permanently missable in Caravan SandWitch. You can revisit every zone on Cigalo after unlocking tools like the energy grapple to grab Rare or Exceptional components you skipped. The only exception is the "Rescue Plan" point of no return, so finish side quests before Sauge leaves with Rose.