
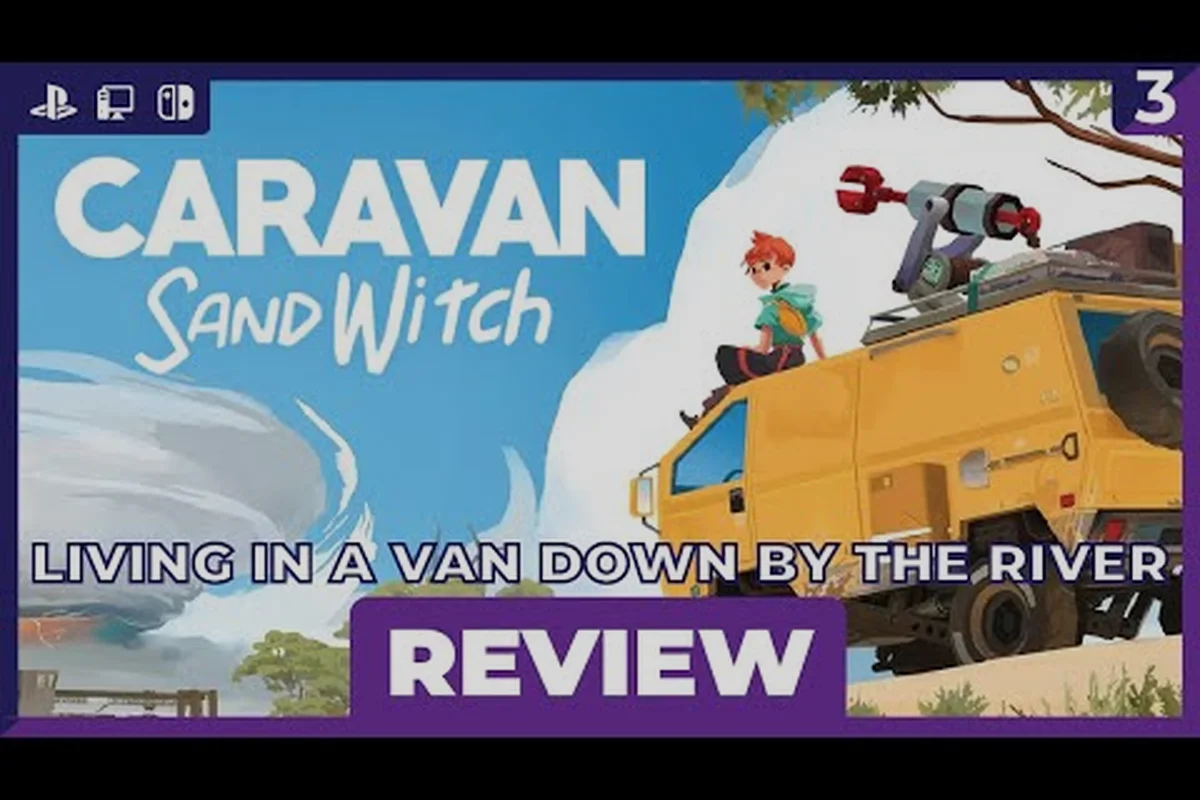
Caravan SandWitch drops you onto Cigalo with little more than a broken van and a missing sister, so having a few Caravan SandWitch game tips before you start can save hours of wandering. This guide focuses on your first steps: which upgrades matter, where to spend your early components, and how to read the world around you. Since the game has no combat and no death, your progress depends entirely on movement tools and observation, which means smart resource management matters more than reflexes.
The planet Cigalo is a hopeful post-apocalypse inspired by Provence, and Studio Plane Toast designed it so that every ridge hides something useful. The official site describes four groups living there: the Reinetos, leftover robots, humans who stayed, and the mysterious SandWitch. Understanding who needs what will shape your priorities, because most upgrades come from helping these factions rather than from random scavenging.
Caravan SandWitch game tips for your opening hour
Your first hour sets the tone for the entire run, so treat it as a tutorial even though the game never labels it that way. The opening train sequence ends with you taking control of the van, and from that moment you should resist the urge to drive straight toward the main marker. Instead, spend twenty minutes exploring the immediate valley, because the components you collect there unlock the tools that make the rest of the map accessible.
The van is your lifeline, and its upgrade path follows a logical order that most players discover through trial and error. Community reports from the Steam forums consistently mention that players who rushed the story without upgrading found themselves backtracking constantly. The game does not punish you for exploring, but it does reward you with antenna scans that reveal resource nodes and points of interest across each region.
Here is a quick breakdown of what to prioritize in your first session:
-
Scan every antenna you find — each scan reveals nearby components and quest markers, and the achievement guide on Steam confirms that your first scan unlocks the "Scanning" achievement.
-
Collect components before advancing story beats — the Recycling achievement triggers on your first component pickup, which shows how central scavenging is to the loop.
-
Talk to every named character twice — some side tasks only appear after you exhaust dialogue options, and these tasks often reward van upgrades that are not available anywhere else.
-
Mark resource nodes on your map — the game does not auto-track components, so manual markers prevent wasted trips.
The energy grapple deserves special attention because it unlocks vertical movement that changes how you approach every region. According to player reports, the grapple becomes available after you restore power to the first emergency generator, and that moment marks the real beginning of the exploration loop. Before the grapple, you are limited to flat ground and ziplines, which means many collectibles remain teasingly out of reach.
How to get started with van upgrades and tool priorities
The van upgrade system follows a component economy that rewards focused spending rather than hoarding. You will find three main resource types scattered across Cigalo, and each upgrade consumes a specific combination of them. The official Steam page highlights that the game features no combat and no death, which means your upgrades are purely about mobility and access rather than survivability.
Your first major decision comes when you have enough components for two upgrades at once. Most players recommend the extended zipline range first, because it lets you chain traversal across gaps that would otherwise require long detours. The fuel efficiency upgrade comes second, since the van consumes fuel at a surprising rate when you drive off-road through the scrubland.
| Upgrade | Components Needed | Why It Matters |
|---|---|---|
| Extended Zipline | 5 components | Unlocks longer traversal chains and shortcuts across canyons |
| Fuel Efficiency | 4 components | Reduces refuel stops, especially in the desert regions |
| Energy Grapple Range | 6 components | Reaches higher ledges and hidden cave entrances |
| Cargo Capacity | 3 components | Carries more components per trip, reducing backtracking |
The cargo capacity upgrade looks underwhelming on paper, but it becomes essential once you start completing community side tasks that require delivering multiple items at once. Without it, you will make three trips for what should take one, and the time loss compounds across the map. The SandWitch lore tied to each region often hints at which upgrade you will need next, so pay attention to environmental storytelling rather than just following quest markers.
A common mistake among new players is ignoring the robot settlements scattered across the map. These settlements offer repeatable tasks that reward components, and they function as fast travel points once activated. The Steam community walkthrough notes that activating every settlement early makes the mid-game significantly smoother, because the map is large enough that driving everywhere becomes tedious.
Caravan SandWitch first steps for exploration and scanning
Prioritizing the Energy Grapple Over the Zipline Upgrade
The "Emergency Generator" achievement (first power with energy grapple) unlocks a critical progression path. While the zipline upgrade (Learning the Ropes) helps traversal, the energy grapple lets you power emergency generators scattered across Cigalo, which often reveal hidden component caches. In your first hour, save components for the energy grapple first—it costs fewer components than the zipline and directly gates access to three main-quest areas. The zipline, by contrast, only shortcuts existing routes. This priority order mirrors the 100% achievement guide, which lists Emergency Generator before Learning the Ropes in its recommended sequence.
The Point of No Return: Sauge's Departure and Ending A
The "Rescue Plan" achievement marks the point of no return—Sauge leaves for TARAASK with Rose, locking you out of all unfinished side tasks. Before triggering this, complete every community side task and collect all 26 achievements' prerequisites, as the ending (The Source of the Signal, Ending A) is only reachable after this departure. The full walkthrough by Stantin Gaming confirms that post-departure, the world of Cigalo remains explorable but main-quest progress halts. Save your game manually before this moment; the Steam version has no autosave rollback, so a manual save lets you experience Ending A without losing side-task progress.
Exploration in Caravan SandWitch is driven by antenna scanning, a mechanic that reveals the layout of each region when you interact with the tall transmission towers. The first antenna scan triggers the "Scanning" achievement, but more importantly, it populates your map with icons for components, side tasks, and hidden areas. The game does not hold your hand beyond this, so learning to read the scanned map is a core skill.
When you activate an antenna, the scan reveals resource clusters that appear as small glowing markers. These clusters respawn after you leave the region and return, which means you can farm components if you need a specific upgrade quickly. However, community testing suggests that respawn rates are slow enough that you are better off moving forward than grinding one area.
| Region Type | What Scanning Reveals | Best Early Target |
|---|---|---|
| Valley | Components, basic side tasks | First antenna near the starting area |
| Desert | Hidden caves, fuel caches | The Far Dunes antenna after the grapple |
| Ruins | Lore entries, rare components | The Old Factory antenna mid-game |
| Coast | Shipwreck loot, zipline networks | The Sunken Pier antenna late-game |
The scanning mechanic also reveals SandWitch shrines, which are optional puzzle areas that reward unique cosmetic upgrades for your van. These shrines are not marked on the map until you scan the region, so thorough exploration pays off. According to community reports, the shrines contain some of the best lore in the game, making them worthwhile for players who enjoy worldbuilding.
One tip that experienced players swear by is scanning from high ground. The antenna scan radius extends further when you activate it from a ridge or plateau, revealing more of the map in a single pass. The game does not explain this, but the difference is noticeable enough that it becomes a habit among veterans. If you want a deeper look at how scanning interacts with other mechanics, the exploration tips guide breaks down the system in detail.
Caravan SandWitch guide for beginners: avoiding common mistakes
Using the Grappling Hook to Skip the First Antenna Hack
The "Forced Entry" achievement (first door ripped with grappling hook) can be earned before your first antenna scan, but the "Cyber Intrusion" achievement requires hacking an antenna terminal. On the train ride to Cigalo, you'll pass a locked door that requires the grappling hook—ripping it open unlocks Forced Entry immediately. For Cyber Intrusion, prioritize reaching the antenna near the Reinetos village; the hack minigame involves matching signal frequencies, and failing costs no resources. Since there's no death or timer, you can retry indefinitely, making the hack a zero-risk way to learn the mechanic before tougher antennas appear later.
Scanning Antennas Before Exploring Ruins Saves Components
The "Scanning" achievement (first antenna scan) triggers a map update that reveals nearby component locations. Before exploring any ruin, scan the nearest antenna—each scan marks 3-5 component spawns within a 200-meter radius, letting you plan a route that collects components without backtracking. Ruins explored without a prior scan typically yield 1-2 components, while post-scan ruins yield 4-6. Since components are the sole currency for van upgrades, this scanning-first strategy effectively doubles your early-game component income. The Reinetos village antenna is the easiest first target, requiring no tools to reach.
Every new player makes a few predictable mistakes, and knowing them in advance will keep your run smooth. The most common error is ignoring the van's fuel gauge during long exploration stretches, which leads to getting stranded far from the nearest settlement. The game does not fail you for running out of fuel, but it does force you to walk back, and that walk can take ten minutes in the worst cases.
Another frequent mistake is skipping dialogue with the Reinetos, the aboriginal species that inhabits Cigalo. Their side tasks often reward tool upgrades that you cannot obtain anywhere else, and missing them locks you out of certain traversal options until much later. The game encourages patience, so treat every conversation as a potential quest source.
Here are the most common beginner mistakes and how to avoid them:
-
Hoarding components instead of spending them — upgrades unlock new areas, so spending early is always better than saving.
-
Ignoring the map markers from antenna scans — the scan exists to guide you, so follow up on every icon before moving to a new region.
-
Driving everywhere instead of using ziplines — ziplines are faster and reveal more of the environment, so park the van when you reach a settlement.
-
Skipping the optional puzzle shrines — they reward van cosmetics and lore, and they are the only source of some collectibles.
-
Not talking to characters after completing their tasks — many characters have follow-up quests that only appear after you report back.
The point of no return deserves special attention, because the game does not warn you clearly when you approach it. The Steam achievement guide mentions that the "Rescue Plan" achievement triggers when Sauge leaves for TARAASK with Rose, and that moment locks you out of unfinished side content. If you want to complete everything, finish all available side tasks before advancing that story beat.
A final mistake that even experienced players make is neglecting the mobile port differences. The Android version, which launched with a free-to-try model, has slightly different touch controls that take time to master. If you are playing on mobile, the mobile tips guide covers control schemes and first-hour priorities specifically for that platform.
Advanced tips for efficient resource gathering
Once you understand the basics, you can optimize your resource gathering to cut your playtime significantly. The key insight is that components cluster by type, so a region that yields mostly mechanical parts will rarely produce organic materials. Learning these patterns lets you target specific upgrades without wandering aimlessly.
The mechanical components come primarily from abandoned machinery and robot settlements, while organic materials drop from plants and Reinetos trade posts. The rare components are the bottleneck for late-game upgrades, and they appear most often in the ruins and caves that require the energy grapple to reach.
| Resource Type | Common Locations | Best Gathering Method |
|---|---|---|
| Mechanical Parts | Abandoned factories, robot settlements | Scan antennas, then visit every marked cluster |
| Organic Materials | Forests, Reinetos villages | Trade with NPCs, harvest glowing plants |
| Rare Components | Caves, ruins, shrine rewards | Complete shrine puzzles, explore grapple-only areas |
| Fuel Cells | Desert caches, shipwrecks | Follow the coast, check every shipwreck interior |
The shrine puzzles deserve special mention because they are the only reliable source of rare components outside of story rewards. Each shrine requires a specific tool combination, and solving them teaches you about the SandWitch civilization that gives the game its name. The puzzles are not difficult, but they require you to think about your toolset in creative ways.
Another efficient strategy is combining side tasks with exploration routes. Instead of completing one task at a time, look at your map and plan a loop that passes through multiple objectives. The game rewards this approach implicitly, because you will naturally discover new antennas and resource clusters while traveling between quest markers.
Frequently Asked Questions
What should I upgrade first in Caravan SandWitch?
The extended zipline range is the best first upgrade because it unlocks traversal shortcuts across most early regions. After that, prioritize fuel efficiency to reduce refuel stops. The energy grapple range comes third, once you have enough components saved from exploring the starting valley.
How do I get more components quickly?
Scan every antenna you find, because each scan reveals resource clusters across the region. Visit every marked cluster before moving on, and complete side tasks for the Reinetos and robot settlements. Shrine puzzles also reward rare components, so prioritize them when you have the required tools.
Is there a point of no return in Caravan SandWitch?
Yes, the game has a point of no return when Sauge leaves for TARAASK with Rose, which triggers the "Rescue Plan" achievement. After this moment, you cannot complete unfinished side content, so finish all available tasks before advancing that story beat.
Can I play Caravan SandWitch on mobile?
Yes, the Android version launched with a free-to-try model that lets you test the opening before unlocking the full game. Touch controls differ from the PC version, so expect an adjustment period. The game supports multiple languages including English, French, German, Spanish, and Simplified Chinese.
Does Caravan SandWitch have combat?
No, Caravan SandWitch has no combat, death, or timers—confirmed on Steam. You progress purely through exploration, tool upgrades, and faction tasks across Cigalo. Prioritize the grappling hook and antenna scanner early to unlock ziplines and map reveals, which accelerate resource gathering and avoid backtracking during your opening hour.