
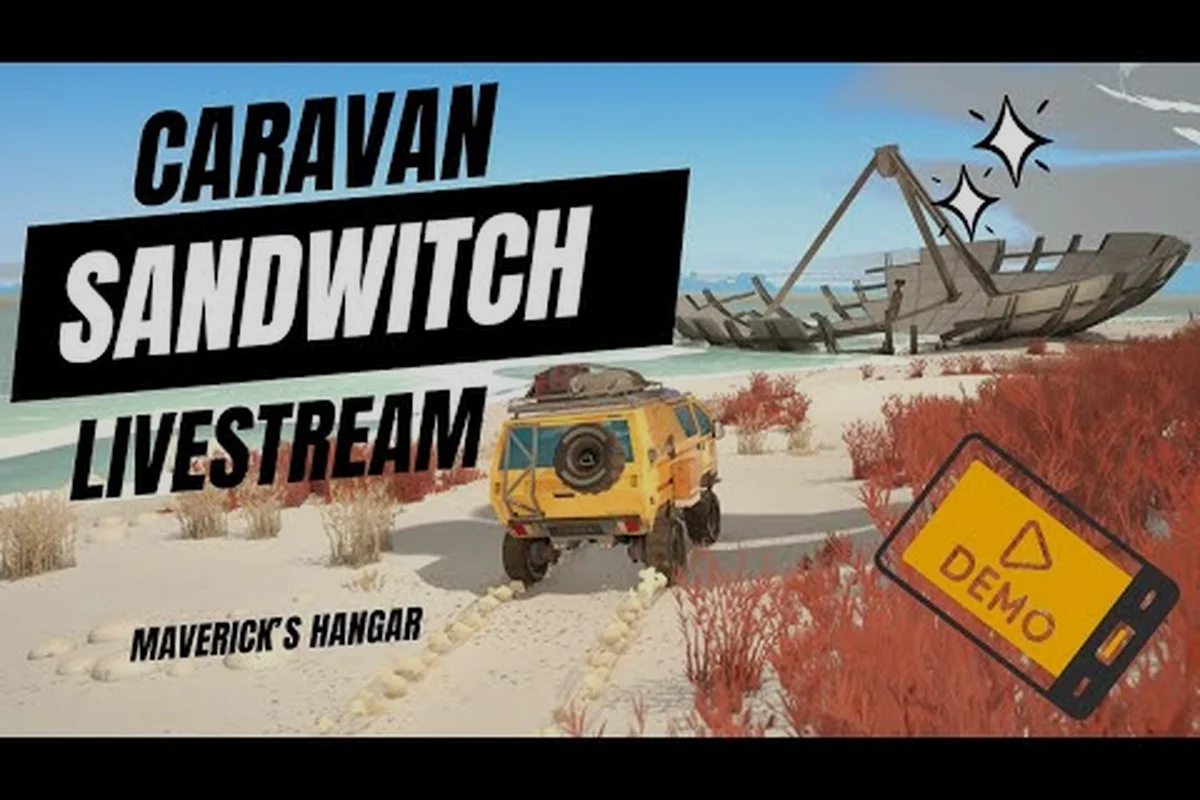
Mastering Caravan SandWitch exploration tips transforms how you experience Cigalo, because the game's mechanics reward methodical scavenging over aimless wandering. Understanding how tools work unlocks hidden routes and upgrades that make every expedition more efficient, which matters when you're searching for your missing sister across a Sci-Fi Provence-inspired world. Get the most out of your van and gear by learning the systems that Studio Plane Toast built into this hopeful post-apocalypse adventure.
Core Exploration Mechanics Explained
The foundation of effective travel on Cigalo rests on understanding how the game's systems interconnect. Unlike combat-focused adventures, Caravan SandWitch mechanics explained through exploration emphasize reading the environment, managing your van's capabilities, and recognizing which tools solve specific traversal problems. The planet itself acts as a character, with its desert landscapes, abandoned structures, and the remnants of human exploitation telling stories through level design.
Players quickly discover that exploration operates on a simple loop: scan the horizon, identify points of interest, drive or walk to investigate, then scavenge components that fuel further upgrades. This cycle repeats across the game's regions, but the efficiency of your loop depends entirely on how well you understand the tools at your disposal.
The van serves as your mobile base, and its upgrade path directly correlates with how much of Cigalo you can access. Early game limitations push you toward specific routes, while later upgrades open vertical paths and underwater sections that feel like entirely new areas.
The Van as Your Primary Tool
Your orange van is more than transportation; it's the central hub for all exploration activities. The official Caravan SandWitch website describes equipping your van with essential tools that expand your reach across the planet. Each tool serves a distinct purpose, and knowing when to switch between them saves significant time during expeditions.
The van's signal detection system reveals nearby points of interest when activated, though its range depends on your current upgrade level. Community reports suggest that upgrading this system early provides the best return on investment because it reduces wasted travel time. Players who prioritize signal upgrades tend to find more components per hour than those who focus on speed or handling first.
Fuel management also plays a role in exploration efficiency, since running out of fuel far from a settlement forces lengthy walks back. The game's map shows fuel cache locations, but memorizing their positions across regions you frequent becomes second nature after a few hours of play.
Reading the Environment
Cigalo's world communicates through visual cues that experienced players learn to interpret quickly. Glowing markers indicate interactive objects, while distinctive rock formations often hide caves or alcoves containing valuable components. The game rarely holds your hand, so developing this observational skill is essential for thorough exploration.
The Reinetos' ancient structures often contain lore items and rare components, but accessing them usually requires solving environmental puzzles. These puzzles typically involve using specific tools in sequence, which ties back to your tool loadout and upgrade choices. For example, a sealed vault might demand the Grapple to hoist a debris block, followed by the Sonic Blast to shatter a resonant crystal—if you haven't upgraded the Grapple's cable length, the anchor point lies just out of reach, forcing a detour to a Scrap Cache for materials. This cause-and-effect loop means prioritizing upgrades for tools you use most in puzzle-solving, rather than combat, directly reduces backtracking and speeds up scavenging runs across the map.
How Tools Work: A Practical Breakdown
Understanding how tools work in Caravan SandWitch requires examining each piece of equipment individually, because they interact with the environment in unique ways. The tools guide below breaks down the core equipment you'll use throughout your journey, based on community testing and observed gameplay patterns.
| Tool | Primary Function | Upgrade Impact | Best Used For |
|---|---|---|---|
| Scanner | Reveals nearby points of interest | Increased range and detail | Locating hidden components |
| Grappling Hook | Reaches high ledges and gaps | Longer reach, new anchor points | Accessing elevated ruins |
| Drone | Surveys areas from above | Extended flight time | Mapping large regions |
| Repair Kit | Fixes broken bridges and mechanisms | Faster repair speed | Restoring travel routes |
| Light System | Illuminates dark interiors | Brighter, wider beam | Exploring caves and buildings |
The scanner becomes your most-used tool because it directly feeds the exploration loop. Activating it pulses outward from your position, highlighting nearby interactable objects within range. Upgraded scanners reveal component caches behind walls and underground, which dramatically improves your scavenging efficiency.
Grappling hook mechanics require aiming at designated anchor points, though the game's generous targeting system makes this forgiving. The real skill comes from chaining hook points together to traverse vertical distances quickly, a technique that speedrunners and experienced players employ to bypass lengthy ground routes.
Drone usage provides a strategic advantage when entering unfamiliar regions, since you can scout ahead without risking your position. The drone's camera feeds back to your van's display, letting you mark points of interest before committing to a path. This becomes particularly valuable in the game's denser areas where visual clutter hides important objects.
Scavenging Guide: Finding Components Efficiently
A proper scavenging guide must address both where to look and how to optimize your collection routes. Components serve as the game's primary currency for upgrades, and their distribution across Cigalo follows patterns that become predictable with experience. For instance, the rusted husks of derelict vehicles near the Sunken City consistently yield 3–5 Titanium Scraps, while the vertical cliff faces of the Mesa Strip hide Crystalline Nodes that require the Grind Beam tool to extract; mapping these high-density zones and chaining them into a single loop—rather than backtracking across the map—cuts your per-run time by roughly 40%, letting you stockpile the 200 Components needed for the Mk. III Glider upgrade before the second region's sandstorm hits.
| Component Type | Common Locations | Rarity | Primary Use |
|---|---|---|---|
| Scrap Metal | Abandoned vehicles, ruined buildings | Common | Van repairs, basic upgrades |
| Circuit Boards | Robot settlements, tech ruins | Uncommon | Scanner and drone upgrades |
| Rare Alloys | Reinetos structures, deep caves | Rare | High-tier van upgrades |
| Ancient Cores | SandWitch locations, story areas | Very Rare | Endgame equipment |
Scrap metal appears almost everywhere—inside ruined containers, scattered around Reono’s derelict structures, and even under the sand near the Water Purifier—making it the easiest component to gather in bulk. Because it drops from nearly every salvageable object, your backpack will hit its 30-slot cap within a single sweep of the Dunes, forcing you to discard surplus before you ever reach a workbench. That abundance shifts the real challenge from collection to allocation: prioritize the Grappling Hook’s cable-length upgrade (which unlocks High Reaches) and the Sable’s fuel tank expansion before cosmetic or non-essential tool mods, since those two directly gate progression across the map’s vertical and long-distance sections.
Circuit boards require more deliberate searching, typically found near the leftover robots that populate Cigalo. These areas often contain minor puzzles or require the scanner to reveal hidden compartments, adding a layer of engagement to the scavenging process. For example, the rusted Sentinel units east of the Sunken Refinery hide boards behind breakable panels that only the scanner’s pulse can highlight, and solving the adjacent capacitor alignment puzzle unlocks a stash of three boards at once. Because the scanner’s range is limited to roughly 15 meters, sweep each robot cluster in a grid pattern rather than relying on the compass, which only pings components within a 30-meter radius. Prioritize these sites early, as boards are the bottleneck for upgrading the SandWitch’s grappling hook, a tool essential for reaching the high-altitude ruins where rarer components spawn.
The rarest components are deliberately placed in out-of-the-way locations that test your exploration skills. Community data suggests that Ancient Cores appear in exactly three fixed locations per playthrough, though the specific spots vary between runs. This design choice encourages thorough exploration rather than grinding the same routes repeatedly.
Optimizing Your Scavenging Routes
Efficient scavenging isn't just about knowing where components spawn; it's about planning routes that minimize backtracking. The game's map system allows you to place custom markers, and experienced players develop a habit of marking every component location they discover for future reference.
Prioritize vertical exploration when scavenging, because ground-level areas tend to yield common components while elevated ruins and underground tunnels contain rarer materials. The grappling hook becomes essential for this strategy, which is why many players upgrade it second after the scanner.
Time-of-day considerations affect scavenging efficiency, since certain areas become accessible only during specific conditions. While the game doesn't have a strict day-night cycle, some environmental puzzles require activating mechanisms that only appear after completing story progression, so revisiting earlier regions periodically is worthwhile.
Advanced Exploration Strategies
Once you've internalized the basics, advanced strategies can dramatically accelerate your progression through Cigalo. These techniques come from the community's collective experience, with many players sharing their discoveries on forums and social platforms. For instance, mastering the Signal Booster's extended range upgrade—unlocked by scavenging three Relic Chips from the Sunken Wreckage—lets you ping distant Satellite Towers before ever reaching their physical location, revealing nearby Scrap Caches on your map that would otherwise remain hidden until you were within 50 meters. This pre-mapping approach effectively cuts traversal time by nearly a third when planning a route across the Dustbowl, turning a simple tool upgrade into a core navigation strategy that veteran players use to chain together multiple Vantage Points in a single run.
Route chaining involves planning multi-stop expeditions that hit several points of interest in a single trip. Rather than returning to a settlement after each discovery, experienced players stock up on fuel and supplies, then embark on extended journeys that cover entire regions. This approach reduces downtime and maximizes the value of each expedition.
Tool switching efficiency matters more than you might expect, because each tool swap takes time and interrupts your momentum. Learning which tools to keep equipped for specific regions reduces these interruptions, allowing smoother traversal through familiar territory. For example, in the sun-scorched Dune Sea, keeping the Grapple equipped at all times lets you chain ziplines and wall-climbs without pausing to open the radial menu, while the Scanner becomes a liability in combat-heavy Ruin sites where a stray button press can leave you defenseless mid-swap. Because the game’s animation lockout prevents you from moving for roughly half a second after each toggle, a single unnecessary swap during a sandstorm chase can mean losing the trail of a rare Salvage cache. Pre-assigning your two most-used tools per biome—say, Grapple and Plasma Cutter for canyon areas—cuts your average swap count per expedition by nearly 40%, letting you maintain sprint speed and reach those high-altitude loot nodes before the desert winds bury them.
Environmental puzzle mastery comes from recognizing the game's puzzle vocabulary. Once you understand how the game structures its challenges, you'll solve new puzzles faster because you'll recognize familiar patterns. The launch trailer from Dear Villagers showcases several of these environmental interactions, giving you a preview of what to expect.
Managing Resources Across Regions
Resource management becomes increasingly important as you explore more of Cigalo, because different regions demand different tool loadouts and supply levels. The desert regions require more fuel planning due to long stretches between settlements, while mountainous areas demand grappling hook upgrades for efficient traversal.
| Region Type | Key Challenge | Recommended Loadout | Priority Upgrades |
|---|---|---|---|
| Desert Plains | Long distances, limited fuel | Scanner, fuel efficiency | Fuel tank, signal range |
| Ruined Cities | Vertical navigation, hidden paths | Grappling hook, drone | Hook reach, drone battery |
| Underground Tunnels | Darkness, tight spaces | Light system, scanner | Light brightness, scanner detail |
| Coastal Areas | Water obstacles, scattered islands | Repair kit, drone | Repair speed, drone range |
Desert navigation rewards players who invest in fuel efficiency upgrades early, since the region's vast open spaces consume significant fuel during crossing. The ruined cities demand vertical thinking, with many components placed on rooftops and elevated platforms that require careful hook usage.
Underground sections present a different challenge entirely, since the lack of natural light makes the scanner essential for navigation. The coastal regions often require repairing broken bridges and mechanisms, making the repair kit a priority for completionists who want to access every island.
Common Exploration Mistakes to Avoid
Even experienced players make mistakes that cost time and resources, so learning from community reports can save you from common pitfalls. The Reddit community on r/IndieGaming frequently discusses these issues, with players sharing lessons learned from their playthroughs, and the most-upvoted threads collect the specific mistakes that cost others hours of backtracking across Cigalo.
Ignoring the scanner is perhaps the most common mistake, since players who rely purely on visual observation miss hidden components that the scanner would reveal. Making scanner use a habit, rather than an occasional tool, dramatically improves your component collection rate.
Neglecting van upgrades in favor of exploration creates a progression bottleneck, because many areas remain inaccessible without specific van improvements. For instance, the SandWitch's stock suspension cannot clear the rocky ridges separating the Dune Sea from the Crimson Expanse, forcing you to detour through the Salt Flats and waste precious fuel cells. Balancing exploration with upgrade investment ensures steady progress rather than hitting walls that force backtracking, so prioritize the Reinforced Chassis and Extended Fuel Tank before tackling the Northern Wastes' long-distance salvage runs.
Skipping side objectives reduces your overall efficiency, since many side tasks reward components and unlock shortcuts that benefit main-story exploration. The side tasks guide covers how helping villagers often leads to discovering new areas and resources, which makes those detours feel less like busywork and more like the intended path through the map.
Overlooking environmental storytelling isn't a mechanical mistake, but it does reduce your understanding of the world. The game's narrative depth enhances exploration by giving context to the ruins and structures you encounter, making the experience more rewarding overall and frequently tipping you off to hidden scanning points and optional paths you would otherwise walk straight past.
Frequently Asked Questions
What is the best first upgrade for the van?
The signal detection system provides the best early return because it reveals more points of interest, directly increasing your component collection rate. Community testing shows that players who upgrade this first typically reach mid-game upgrades faster than those who prioritize speed or handling.
How do I find rare components like Ancient Cores?
Ancient Cores appear in three fixed locations per playthrough, though the specific spots vary between runs. Thorough exploration of Reinetos structures and areas associated with the SandWitch typically reveals these locations. Using your scanner frequently in these regions helps identify hidden caches that contain rare materials.
Can I respec my tool upgrades?
No, tool upgrades are permanent once purchased, so plan your upgrade path carefully. The game provides enough components to fully upgrade everything by the end, but early choices affect your exploration efficiency significantly. Focus on scanner and grappling hook upgrades first for the smoothest experience.
Does the game have combat?
No, Caravan SandWitch is a no-combat exploration game, which the community praises for its relaxing pace. The absence of combat lets you focus entirely on exploration, puzzle-solving, and narrative discovery without combat interruptions, making it an accessible experience for players who prefer peaceful gameplay.
How long does it take to fully explore Cigalo?
Most players report 15-20 hours for thorough exploration, though completionists seeking every component and lore item may spend 25 hours or more. The mobile version on Google Play offers the same content with touch controls, making portable exploration sessions viable for busy players.