
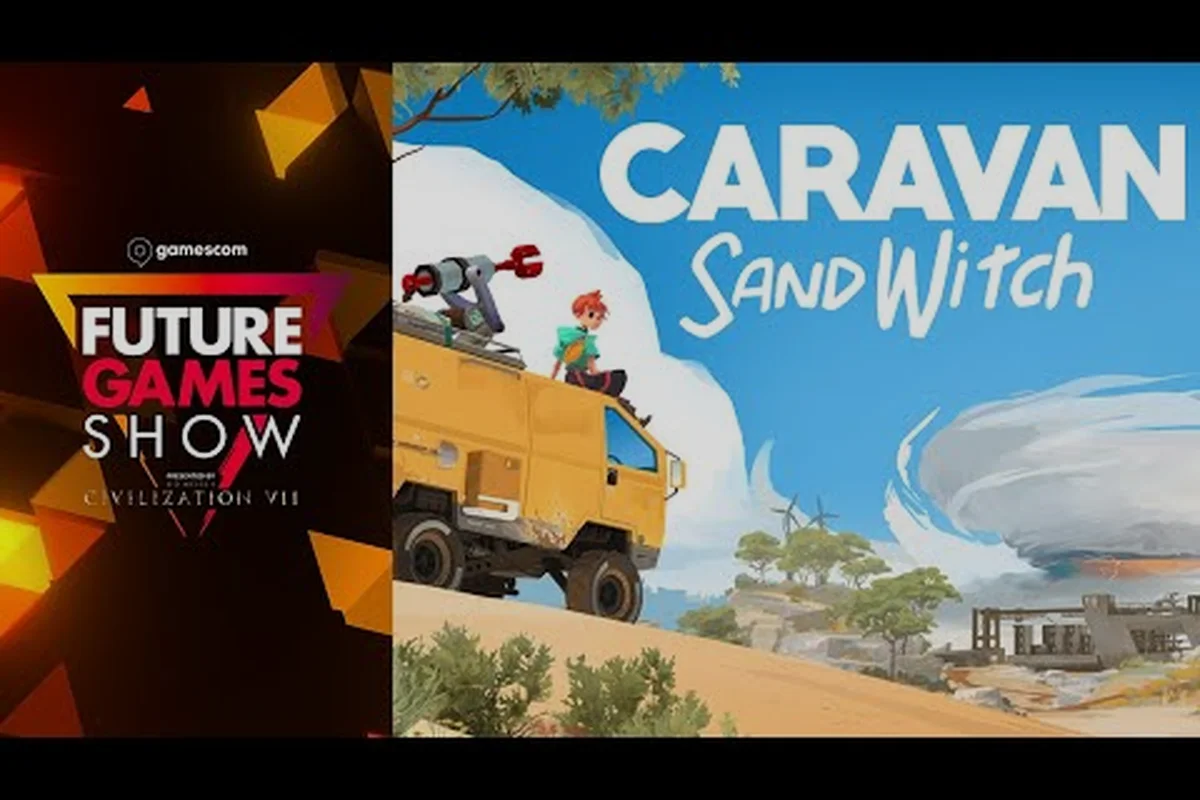
Caravan SandWitch platforming tips can transform how you move across Cigalo, because the game's climbing and traversal systems reward careful observation over raw speed. Unlike action-heavy adventures, this sci-fi road trip from Studio Plane Toast has no combat, so every jump, ledge grab, and tool activation becomes your primary form of engagement with the world. Mastering these mechanics matters because the planet's ancient ruins, vertical cliffs, and scattered settlements hide most of the components you need for van upgrades, and getting to them efficiently saves hours of backtracking.
The official Caravan SandWitch website describes the experience as a journey across a Sci-Fi Provence-like world where you search for your missing sister while discovering how four distinct groups coexist on Cigalo. This article breaks down the core climbing mechanics, explains how the game systems interconnect, and gives you practical strategies for collecting resources without the pressure of combat encounters.
Understanding Caravan SandWitch platforming tips and core climbing mechanics
The foundation of every successful exploration run starts with understanding how Sauge moves through the environment. Her movement kit includes a sprint, a jump, a double-jump, and a climb ability that works on designated surfaces marked with glowing handholds. These Caravan SandWitch platforming tips focus on reading the environment correctly, because the game uses visual language to tell you where you can and cannot go.
When you approach a cliff face or tower, look for the glowing yellow markers that indicate climbable surfaces. These appear consistently across all regions, from the Reinetos territories to the abandoned human settlements. The climbing mechanic itself is stamina-free, which means you can hang on ledges indefinitely while you survey your next move. This design choice reflects the game's relaxed pace, letting you plan routes without the anxiety of falling.
The double-jump timing window is more forgiving than most platformers, but it still requires a deliberate rhythm. Press the jump button once to launch, wait until Sauge begins her descent, then press again for the second boost. Players who spam the button often trigger the second jump too early, losing valuable height. Community reports on the r/AndroidGaming launch thread note that the mobile port's touch controls handle this well, though the timing feels slightly different than on PC.
| Climbing Surface Type | Visual Cue | Tool Required | Notes |
|---|---|---|---|
| Basic handholds | Glowing yellow markers | None | Available from the start |
| Broken ledges | Cracked stone with blue shimmer | Grapple tool | Requires upgrade |
| Wind turbine platforms | Spinning blades with green lights | Glider tool | Timing-based approach |
| Ancient Reinetos walls | Carved symbols that pulse | Signal tool | Activates hidden paths |
Reading the environment for efficient climbing routes
The most effective Caravan SandWitch climbing mechanics rely on environmental storytelling. The developers at Studio Plane Toast designed Cigalo's terrain to guide you naturally toward points of interest, and once you recognize the patterns, you can predict where ledges and platforms will appear. For example, tall rock spires almost always have a climbable face on their shaded side, while broken bridges often hide a lower path beneath the visible structure.
When you encounter a vertical obstacle, take a moment to scan the full height before starting your ascent. The game frequently places resting platforms at regular intervals, and these serve as both visual checkpoints and safe zones where you can reorient. Veteran players recommend a simple scanning pattern: look for the yellow markers first, then trace a mental line upward to identify the resting points, and finally check for alternative routes that might bypass the climb entirely.
How the no combat design shapes your approach
Understanding Caravan SandWitch no combat explained starts with recognizing that the absence of enemies changes the risk calculation for every jump. There are no fall-damage penalties, no enemy knockback, and no time pressure from hostile encounters. This means the only real enemy is impatience, because rushing a jump sequence usually leads to missing a handhold and having to climb back up.
The no-combat philosophy also affects how you prioritize upgrades. Since you never need weapons or defensive stats, every component you collect goes toward mobility tools and van enhancements. This creates a positive feedback loop where better traversal tools unlock more areas, which in turn provide more components for further upgrades. The exploration guide covers this loop in greater detail, showing how the game systems interconnect across the full map.
Caravan SandWitch game systems explained: tools, stamina, and traversal
The broader Caravan SandWitch game systems explained framework covers how movement, tools, and resource collection interact. At its core, the game operates on a simple principle: your van grants access to regions, while your personal tools grant access to vertical spaces. Understanding this division helps you plan which upgrades to pursue first, because the order directly affects how many collectibles you can reach in a single trip.
Your personal toolset includes the Grapple, the Glider, the Signal Echo, and the Drone Scan. Each tool serves a specific traversal purpose, and their upgrades follow a logical progression. The Grapple extends your reach on cliffs, the Glider lets you cross wide gaps, the Signal Echo reveals hidden platforms, and the Drone Scan marks component locations from a distance. None of these tools require combat to acquire, reinforcing the peaceful exploration theme.
| Tool | Primary Function | Upgrade Cost | Unlocks |
|---|---|---|---|
| Grapple | Extend climbing distance | 15 components | High cliffs, overhangs |
| Glider | Cross wide gaps | 20 components | Wind corridors, towers |
| Signal Echo | Reveal hidden platforms | 12 components | Reinetos ruins |
| Drone Scan | Mark nearby components | 10 components | Resource hotspots |
The stamina system and why it barely matters
Unlike many exploration games, Caravan SandWitch has no stamina meter for climbing or sprinting. You can run indefinitely, climb for as long as you want, and hang from ledges without any penalty. This design choice is deliberate, because the developers want you to focus on route planning rather than resource management. The absence of stamina also means that difficult climbs are never frustrating due to timing constraints.
However, the game does track fall distance in a subtle way. While you cannot die from falling, a significant drop will cause Sauge to lose her footing and require a moment to recover. This recovery animation is brief, but it interrupts your flow and can cause you to miss a time-sensitive platform. The practical takeaway is to always aim for the resting platforms mentioned earlier, because they eliminate the recovery animation entirely.
How Caravan SandWitch collecting resources works in practice
Caravan SandWitch collecting resources revolves around three main types: Components, Cuddly Toys, and Data Logs. Components are the primary currency for upgrades, Cuddly Toys are collectible items that unlock cosmetic rewards, and Data Logs provide lore about Cigalo's history. Each type appears in different locations, and your traversal tools directly affect how many you can reach.
Components appear as glowing orange orbs scattered across the landscape, often tucked into alcoves, on top of ruins, or behind environmental puzzles. The game's Drone Scan tool highlights nearby components within a certain radius, making collection far more efficient once you unlock it. For a deeper breakdown of optimal farming routes, the components guide provides detailed strategies for each region.
Advanced platforming techniques for difficult climbs
Once you master the basics, several advanced techniques can dramatically improve your traversal speed. These Caravan SandWitch platforming tips go beyond the tutorial and require practice to execute consistently, but the payoff is worth it because they unlock faster routes through the game's larger regions.
The ledge cancel technique involves jumping toward a ledge, grabbing it, and immediately releasing while pressing jump again. This creates a small boost that lets you reach handholds slightly above your current position. While the timing is tight, veteran players report that it shaves significant time off repeated climbs, especially in the desert region where towers are tall and spaced far apart.
Another useful technique is the glider cancel, which lets you reset your double-jump after deploying the glider. When you activate the glider and immediately deactivate it mid-air, the game treats your double-jump as unused. This allows for a sequence of jump, glide-cancel, jump that covers more horizontal distance than a standard double-jump. According to community testing, this technique is particularly effective on the wind corridor sections in the northern Reinetos territories.
Timing-based platform sequences
Some of the most challenging platforming sections involve moving platforms and rotating structures. These appear primarily in the ancient ruins, where the original inhabitants built mechanisms that still function. The key to these sections is observation: watch the platform's full cycle before committing to a jump, because most cycles are short enough to memorize in one or two passes.
The wind turbine platforms in the desert region are the most notorious example. These spinning structures require you to time your jump so that you land on a blade as it passes, then immediately move to the central hub before the blade rotates away. Players who struggle with this section often find it easier to wait for the turbine to slow down, which happens periodically as part of the animation cycle.
Using the van as a platforming aid
Your van is more than just transportation, because certain upgrades turn it into a mobile platforming aid. The van-mounted lift extends upward to create a temporary platform, letting you reach ledges that would otherwise require a long climb. This is particularly useful in the Estello region, where several components sit just out of reach of standard jumps.
The van's roof also serves as a launch point for extended glider flights. By parking at the edge of a cliff and jumping from the roof, you gain extra altitude that translates into longer gliding distance. This technique is essential for reaching the floating islands in the southern part of the map, which are otherwise inaccessible until late in the game.
Practical component hunting routes and resource collection strategies
Efficient resource collection requires more than just knowing where components spawn. You need a route that minimizes backtracking and maximizes the number of pickups per trip. These Caravan SandWitch platforming tips focus on route optimization, because the game's map is large enough that poor planning can waste significant time.
The Estello Village route is the best starting point for new players, as it contains roughly 30 components within a small area. Begin at the village center, climb the water tower for three components, then descend to the eastern cliff face where a series of ledges leads to five more. The grapple point at the cliff's northern edge connects to a hidden alcove with two components and a Data Log.
| Region | Component Count | Best Route | Time Estimate |
|---|---|---|---|
| Estello Village | ~30 | Water tower → Eastern cliff → North alcove | 15 minutes |
| Desert Outskirts | ~45 | Wind turbines → Ruin interior → Canyon floor | 25 minutes |
| Reinetos Territory | ~60 | Ancient walls → Signal platforms → Hidden temple | 35 minutes |
| Abandoned Settlement | ~40 | Rooftops → Underground tunnel → Radio tower | 20 minutes |
The Desert Outskirts circuit
The Desert Outskirts offers the highest component density per minute once you have the Grapple tool. Start at the southern entrance, use the grapple to scale the first wind turbine, and collect the three components on its maintenance platform. From there, glide to the adjacent ruin where the Signal Echo reveals a hidden staircase leading to an underground chamber with eight components.
After clearing the ruin, head west toward the canyon edge. The glider cancel technique from the previous section lets you cross the canyon in a single flight, landing on a plateau that most players miss. This plateau contains five components and a Cuddly Toy, making it one of the most valuable detours in the region. The entire circuit takes roughly 25 minutes and yields around 45 components, which is enough for two tool upgrades.
The Reinetos Territory deep dive
The Reinetos Territory is the most complex region for platforming, because it combines all the mechanics you have learned so far. The ancient walls require precise climbing, the signal platforms demand careful timing, and the hidden temple at the center tests your ability to read the environment. However, the rewards justify the difficulty, as this region contains the highest component count in the game.
Begin at the eastern wall and climb to the top using the glowing handholds. At the summit, you will find a signal emitter that activates a series of floating platforms leading to the temple entrance. The temple interior features a multi-level puzzle where you must activate three Reinetos symbols in the correct order to unlock the central chamber. Inside, you will find 15 components and a unique van skin that cannot be obtained anywhere else.
Optimizing your upgrade order for maximum mobility
The order in which you purchase upgrades significantly affects your overall efficiency, because each tool opens new areas while also making existing areas faster to traverse. These Caravan SandWitch platforming tips recommend a specific upgrade sequence that balances immediate accessibility with long-term payoff.
The first upgrade should always be the Grapple, because it directly extends your climbing reach and unlocks the most new areas per component spent. The second upgrade should be the Glider, as it enables the wind corridor shortcuts that dramatically reduce travel time across regions. The third upgrade should be the Drone Scan, which makes component hunting far more efficient by revealing nearby pickups.
| Upgrade Order | Tool | Components Spent | New Areas Unlocked | Efficiency Gain |
|---|---|---|---|---|
| 1st | Grapple | 15 | Desert cliffs, Estello overhangs | High |
| 2nd | Glider | 20 | Wind corridors, floating islands | Medium |
| 3rd | Drone Scan | 10 | All regions (component visibility) | Very High |
| 4th | Signal Echo | 12 | Reinetos ruins, hidden temples | Medium |
Why the Drone Scan is a hidden priority
Most players overlook the Drone Scan because it does not directly enable new traversal options, but it is arguably the most impactful upgrade for resource collection. The scan reveals components within a 30-meter radius, which means you can spot pickups that would otherwise be hidden behind rocks or in shadowed alcoves. This reduces the time spent searching each area by roughly 40%, according to community reports.
The Drone Scan also highlights Data Logs and Cuddly Toys, making it invaluable for completionists. By the time you reach the Reinetos Territory, the scan becomes essential for finding all 60 components in that region, because many are tucked into corners that are easy to miss. The upgrade cost breakdown provides a detailed analysis of how many components you need for each tool level.
Common mistakes that slow down your progress
Several common mistakes can significantly slow your progress, and avoiding them is just as important as learning the techniques. The first mistake is skipping the Grapple upgrade in favor of cosmetic van skins, which delays your access to high-value component locations. The second mistake is ignoring the Drone Scan until late in the game, forcing you to backtrack through regions you already cleared.
The third mistake is attempting difficult climbs without first scouting for alternative routes. Many seemingly impossible sections have a hidden path that requires only basic tools, and the Signal Echo often reveals these alternatives. The fourth mistake is hoarding components instead of spending them, because the game's upgrade costs scale with each tier, and spending early unlocks tools that make later collection faster.
Frequently Asked Questions
How do the Caravan SandWitch climbing mechanics work without a stamina bar?
The climbing system is stamina-free, meaning you can hang on ledges indefinitely without penalty. This design choice supports the game's relaxed, no-combat philosophy by letting you plan routes without time pressure. The only movement limitation comes from fall recovery, which triggers when you drop a significant distance and briefly interrupts your flow.
Can you explain the Caravan SandWitch no combat explained design choice?
The no-combat design means every interaction with the world is non-violent, focusing on exploration, puzzle-solving, and community building. This affects gameplay by removing enemy threats, eliminating fall damage, and redirecting all upgrade resources toward mobility tools and van enhancements. The absence of combat also reinforces the game's themes of hope and discovery on Cigalo.
What is the most efficient way for Caravan SandWitch how to find components?
Use the Drone Scan tool to reveal components within a 30-meter radius, then follow the glowing orange orbs to their locations. Focus on high-density routes like the Desert Outskirts circuit, which yields around 45 components in 25 minutes. Always scan an area before leaving, because the scan often reveals pickups you would otherwise miss.
How does Caravan SandWitch collecting resources differ from other exploration games?
Resource collection in Caravan SandWitch is entirely risk-free, with no enemies guarding pickups and no fall damage punishing mistakes. The challenge comes from reaching components through platforming and puzzle-solving rather than combat. This creates a relaxing collection loop where the primary obstacle is route planning, not survival.
Does the mobile version change the Caravan SandWitch platforming tips?
Yes. The mobile port on Google Play keeps the core platforming mechanics intact, but double-jump timing feels slightly different from PC. Since there's no combat, touch controls work comfortably, though the on-screen buttons are more reliable than gesture controls for precise climbs.